Installation Guides

Video installation guides for all Dumpy Defense TAR systems. Watch
before you install.

Verify Safe & Unloaded

Confirm the firearm is unloaded and pointed in a safe direction. Remove the magazine and lock the bolt open.

Proper Tools

Have a clean workspace, appropriate punches, and any platform-specific tools ready before starting.

Know Your Platform

You should be familiar with field-stripping your firearm before attempting a trigger group replacement.

Watch First

Watch the complete installation video for your platform before beginning. Pause and rewind as needed.

Not comfortable? If you are unsure about any step in the installation process, consult a qualified gunsmith. Improper installation can affect function and safety.

Installation Guide

Ensure your product is installed correctly for optimal performance, reliability, and safety. Follow the guidance below or refer to our step-by-step video tutorials.
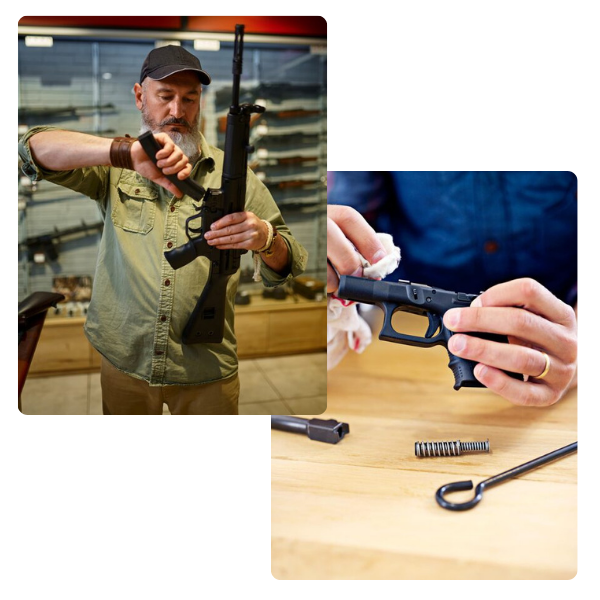
Before starting installation, make sure:

  • Your equipment is unloaded and safe to handle
  • You are working in a clean, well-lit environment
  • You have the correct tools for the installation
  • You understand your platform and configuration

Platform Guides

Video Installations

Select your platform below to watch the installation guide for your product.

Kriss Vector FRT

Kriss Vector platform

TX22 FRT

Taurus TX22 platform

TX22 D2 Striker Housing With Trip

Taurus TX22 platform

M&P FRT

S&W M&P 2.0 platform

Beretta FRT

Beretta FRT platform

Kabuto 3 Position FRT

Universal platform 

M&P 2.0 FRT

S&W M&P 2.0 platform

MAC 11 FRT

MAC 11 FRT Platform

AK FRT

AK FRT platform

Glock FRT

Glock FRT platform

10/22 FRT

10/22 FRT platform

General Process

Installation Overview

Steps vary by platform. Always watch the platform-specific video guide
first.

1

Inspect & Verify

Confirm the firearm is unloaded. Inspect the TAR components for any damage before
installing.

2

Disassemble Fire Control Group

Remove existing trigger components following platform-specific procedure. Keep all parts organized.

3

Install TAR Components

Install the TAR unit per the video guide. Do not force components — all parts should seat without excessive pressure.

4

Align & Verify Function

Confirm correct seating and alignment. Perform a dry-fire function check with an empty, cleared firearm.

5

Lubricate & Test

Apply appropriate lubrication. Test function at the range. Monitor for any issues during initial break-in rounds.

Need Help?

Our team can help with installation questions. Include your product name and a description of
the issue.